Kakariko, Death Mountain, and the Goron Mines
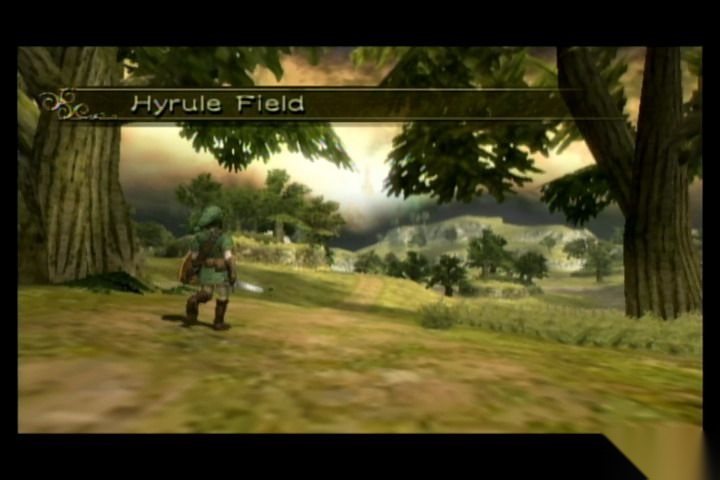
Chapter 2 moves the story from village-scale problems into a broader Hyrule conflict. The player reaches Kakariko, restores another Twilight-covered region, and finally earns the trust needed to challenge Death Mountain.
This is also where the tone becomes heavier. The ruined village atmosphere, the threat around Renado and the children, and the Goron standoff all make the world feel much larger and more unstable than the Ordon opening.
Story and Route Flow
This chapter reads best as a sequence of progression beats rather than as isolated screenshot captions. The breakdown below follows the route in the order a player would experience it.
Kakariko Village and the Eldin Crisis
Kakariko is the first place that feels openly damaged by the wider conflict. The village rescue scenes, Renado's role, and the pressure around the missing children all push the story away from local adventure and into a larger campaign to stabilize Hyrule region by region.
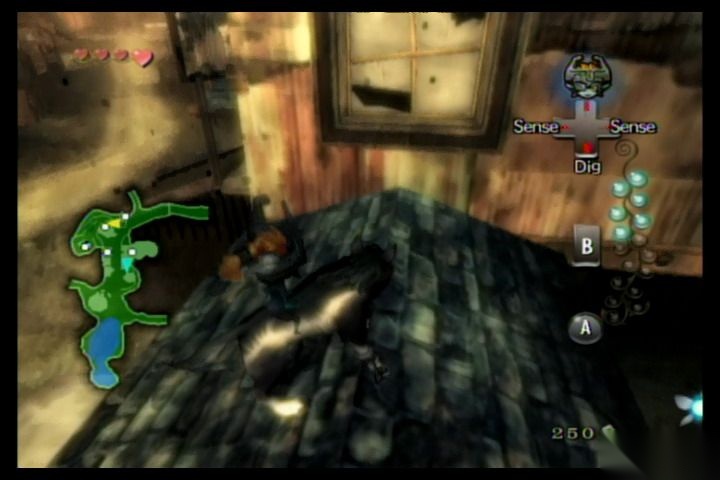
Eldin Twilight and Light Spirit Progression
The Eldin Twilight section repeats the Tears of Light structure, but in a harsher environment with stronger enemies and a more visible sense of collapse. By this point the guide no longer feels like a tutorial; it feels like a province under occupation.
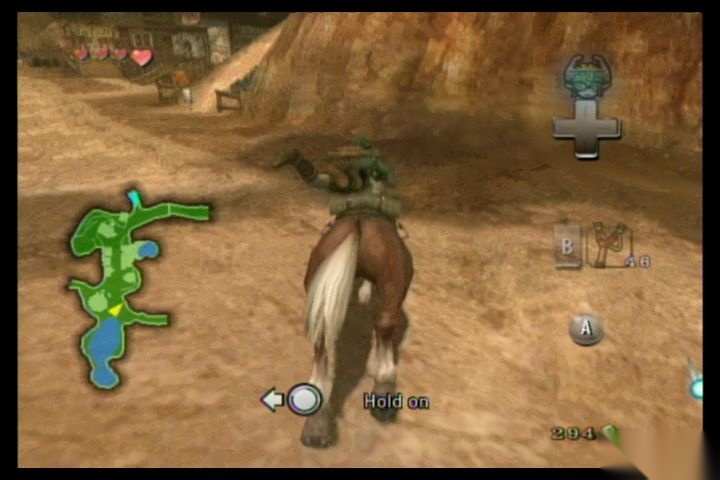
Earning the Gorons' Respect
Before the dungeon opens, the route depends on social and physical progression rather than pure exploration. Sumo, the Iron Boots, and the climb to Death Mountain all reinforce that this chapter is about meeting a culture on its own terms before the player is allowed deeper in.
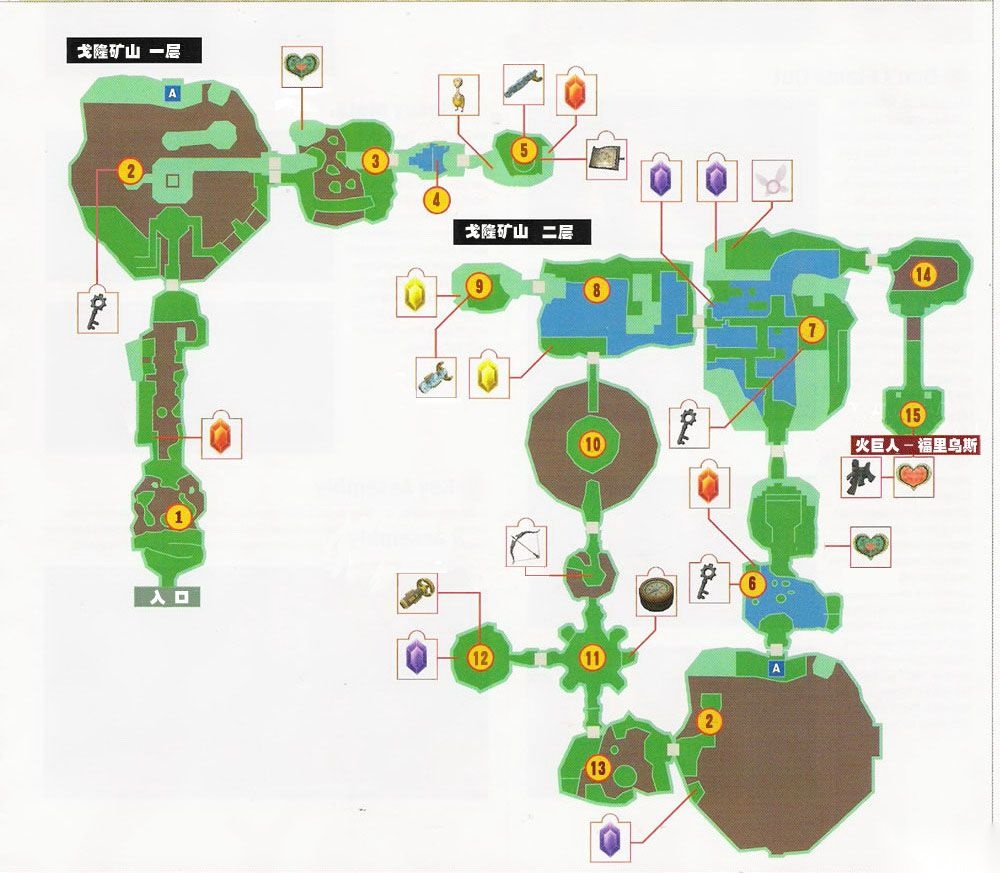
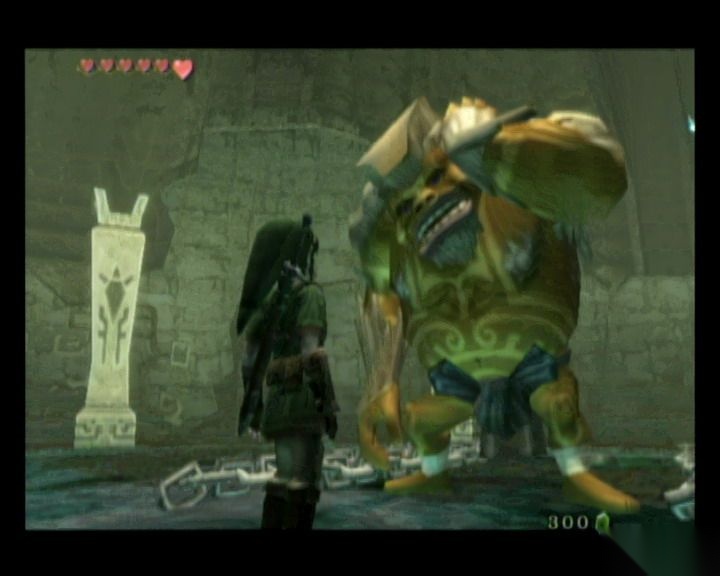
Goron Mines, Hero's Bow, and Fyrus
Inside the mines, the guide shifts into hazard control and magnetic traversal. The Hero's Bow opens the dungeon's switch logic and later overworld utility, while Fyrus closes the chapter with a fight that combines range, timing, and the heavy footing introduced by the Iron Boots.
Dungeon and Item Focus
The Iron Boots and Hero's Bow define this chapter. The boots solve the Goron problem and enable magnetic wall movement, while the bow opens up ranged switches and combat options for the rest of the game. Fyrus closes the dungeon with a straightforward but memorable bow-and-boots encounter.
Why This Chapter Matters
Chapter 2 is where Twilight Princess proves that its world is not just wide but politically and culturally distinct. It expands the stakes, deepens the province structure, and starts treating each region as a place with its own pressure points and leaders.
Screenshot Highlights
These screenshots mark the chapter's major shifts: settlement pressure, Goron escalation, dungeon routing, and the first true bow-focused payoff.